

A leather seat is an investment that can last for decades when it is looked after properly. Cleaned with the wrong products, exposed to sun and heat, or left without regular care, it can crack and fade within a few years instead. There is no single answer to the question “how do you clean a leather seat?”, because the right method depends on the type of leather the seat is made from. In this article we will look first at how to tell the leather types apart, and then at every step from daily care through to stain removal.
Whether it is a car seat or a piece of household furniture, the care of leather seats should not be neglected. Leather is by its nature porous, flexible and oily, so if cleaning is put off, dirt works its way into the pores and builds up over time. Clean it with whatever happens to be at hand and it loses that flexible, oily texture: it cracks, and the colour fades or goes pale.
First, Find Out What Type of Leather You Have
Before you start any care routine you should know which type of leather your seat is made from. The great majority of seats on the market fall into three groups.
Pigmented (finished) leather: It has a thin protective layer of pigment and coating on its surface. It stands up to daily use, does not take up stains easily, and is the easiest type to care for. Most seats sold today belong to this group.
Aniline and semi-aniline leather: These are leathers with very little coating, or none at all, so that the natural look is preserved. They feel soft, but water, oil and sunlight affect them quickly. They therefore need more careful handling.
Nubuck and suede: The surface is lightly buffed and has a velvety nap. Wiping these leathers with a damp cloth or using oily products on them can leave permanent marks. They need special brushes and cleaners.
How can you tell which type you have? Put a single drop of water on a spot on the seat that is out of sight. If the water sits on top like a bead, your leather is pigmented. If it is absorbed straight away and that area goes darker, the leather is uncoated and needs more delicate care. If you cannot be sure, the best thing is to check the manufacturer’s care label or ask the retailer.
Daily and Weekly Care
The biggest enemy of a leather seat is the dust and dirt you cannot see. Over time these fine particles act like sandpaper on the leather surface and wear the finish away.
- Dust it once a week. Use a dry, soft microfibre cloth or a vacuum cleaner with a soft brush head. Go into the folds and along the seams as well.
- Wipe it over with a slightly damp cloth once a month. Dampen the cloth only lightly — it should not be wet. Then dry the surface straight away with a dry cloth.
- Wipe up spills immediately. Lift liquids off by pressing down with kitchen paper or a cloth before they soak into the leather. Do not rub, because rubbing spreads the stain.
Conditioning and Protection: When Should Leather Cream Be Applied?
Leather loses its natural oils over time. Leather that dries out first goes dull, and then cracks. That is why it needs conditioning regularly after cleaning. As a general rule, applying a care cream or milk every 6 to 12 months is enough. Applying it more often can slacken the leather and leave a sticky film on the surface.
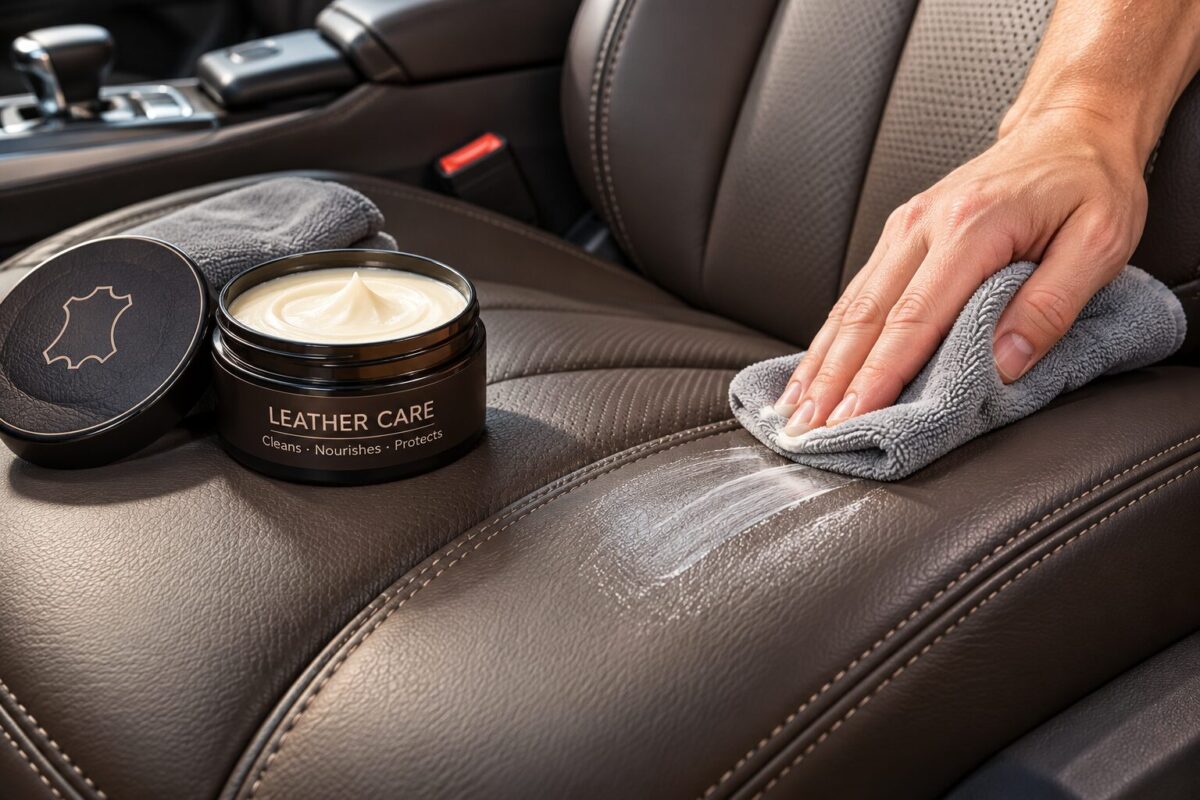
To apply it, take a very small amount of the product onto the corner of a cloth and spread it in a thin, even layer. Wait 15 to 20 minutes, then buff off the excess with a clean, dry cloth.
Are Natural Oils Suitable for Leather Seats?
This comes up often, and the answer depends on the type of leather. On the pigmented leather that makes up most modern seats, oil does not penetrate the leather at all; it simply stays on the surface. There it attracts dust and can end up looking like a stain. Kitchen oils such as olive oil and sunflower oil turn rancid over time, producing a bad smell and a sticky surface. Petroleum products such as petroleum jelly and baby oil make it harder for the leather to breathe and collect dirt. For those reasons we do not recommend any of them.
On uncoated, natural leather, however, jojoba oil or balms containing lanolin and beeswax are reasonable options. Even so, the safest route is to use a care product made specifically for leather seats.
❌ Home mixtures such as vinegar, lemon juice and bicarbonate of soda are not recommended either, since they can upset the pH balance of the leather.
Placement and Habits That Protect a Leather Seat
The surroundings the seat lives in determine its lifespan just as much as the care products do.
Keep it out of direct sunlight. The sun fades leather and dries it out. If it stands by a window, you can use curtains or a UV-filtering window film.
Keep it away from heat sources. A position close to a radiator, stove or fireplace dries the leather out. Leaving at least 30 to 50 cm between the seat and the heat source is a good rule.
Keep the humidity balanced. Air that is very dry or very damp damages leather. Keeping the room balanced and airing it regularly is enough.
Avoid sharp objects. Pet claws and hard objects such as mobile phones or keys can scratch the surface. Watch out for clothing with protruding metal fittings too.
Rotate the areas that get sat on most. Turning the cushions round from time to time spreads the wear evenly.
What to Do About Small Scratches and Cracks
Surface scratches often disappear when rubbed gently with a fingertip, because leather flexes with warmth. Conditioning afterwards with a suitable care cream helps. If there is deep cracking, a tear or peeling, you need a leather repair kit or a professional restoration service. At that stage, trying to deal with it using home remedies usually makes the problem worse.
Leather Seat Care Schedule (Summary)
Once a week: Dusting.
Once a month: Wiping with a slightly damp cloth, then drying.
Every three months: A deep clean with a leather cleaner.
Every six to twelve months: Applying a conditioning care cream.
Always: Wiping up spills immediately.
How to Care for Leather Seats
Our first piece of advice for caring for leather seats is to vacuum them regularly with a soft brush head.

The best way to prevent dirt from building up is to clean leather seats regularly. Before cleaning with soap and water, wipe them over with a dry microfibre cloth. It will lift most of the dirt off.

Take care to keep leather seats out of contact with the sun. The sun bleaches leather and distorts its colour.
For car seats this danger may not really arise, but if we are talking about leather furniture, place it at least half a metre away from heat sources such as stoves and fireplaces. Genuine leather is oily by nature, and as long as it keeps that quality it keeps its sheen. Heat and sunlight will dry the leather out, crack its surface and cause its colour to change.
Related Questions
Leather has a porous structure, and dust on the surface can work its way into those pores over time. Vacuuming regularly removes the dirt from the surface before it penetrates any deeper.
The heat and rays of the sun gradually evaporate the leather’s natural oil and moisture, drying it out. Leather that has dried out loses its flexibility, starts to crack and fades in colour.
Dust it first, then apply a pH-balanced cleaner suitable for leather seats with a cloth, working section by section, and dry it afterwards. Do not use a wet cloth or a stiff brush.
A slightly damp microfibre cloth is enough for everyday cleaning. Mixtures such as vinegar, lemon and bicarbonate of soda can upset the balance of the leather. For a deep clean it is therefore safer to choose products made for leather.
No. Olive oil turns rancid over time, smells, and leaves a sticky film on the surface. On pigmented leather it does not penetrate at all in any case.
Every 6 to 12 months is usually enough. For seats close to a radiator or in the sun, that interval may be a little shorter.
Fresh marks can sometimes be reduced with a leather cleaner. For older marks and dark-coloured pens it is safer to get professional help.
Surface cracks can be softened with a care cream. Deep cracks call for a repair kit or professional restoration.
Leave the seat somewhere airy. Sprinkling a thin layer of bicarbonate of soda over the surface and vacuuming it off a few hours later helps draw the smell out, but you should test it on a hidden spot first.
Related Posts
 How to Clean Leather Seats. What Should Leather Seats Be Cleaned With?
 Engine Knocking Noise
 Removing Stains from a Leather Couch
 Is It Harmful to Drive Off Without Warming Up the Engine?
 Piston Ring Wear in an Engine
 The Best 5 Vehicle Maintenance Tips for Summer Vacation
 What Happens If a Shock Absorber Fails. Consequences of Shock Absorber Failure
 How to Save Fuel in Vehicles