
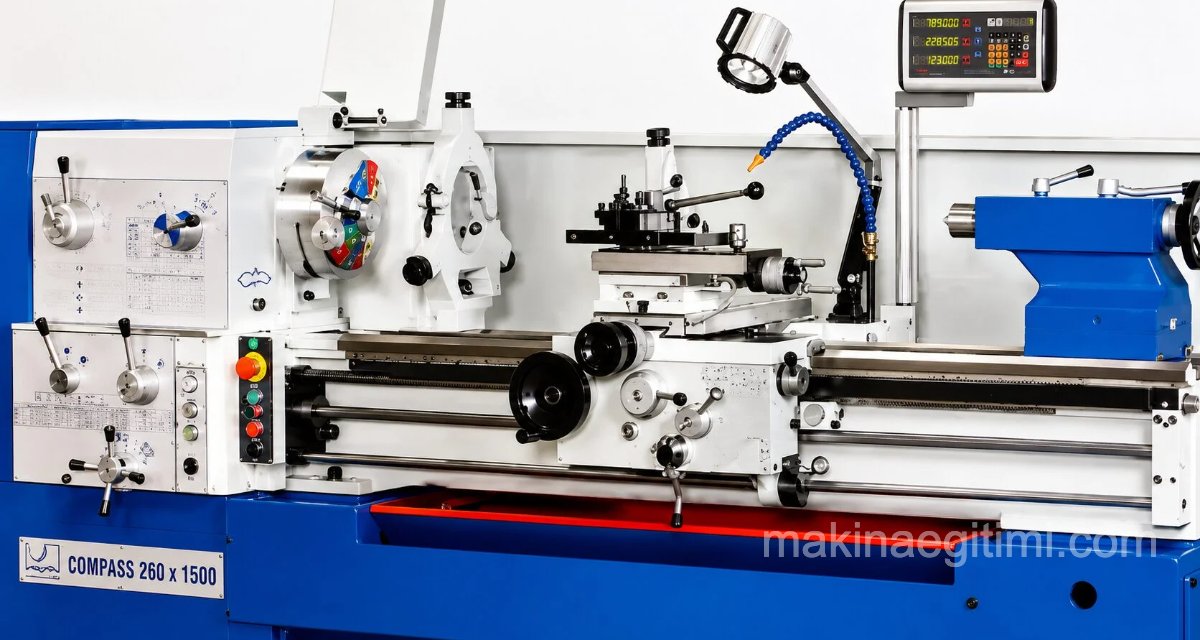
This article, in our manufacturing processes / turning category, will cover changing the jaws on a universal lathe chuck. Changing the lathe chuck jaws is an easy process. However, there are a few tricks to keep in mind.
3-jaw chucks on universal lathes successfully clamp the workpiece, but they normally work with jaws that aren’t suited to turning very large-diameter material.

However, lathes don’t always work with small-diameter material. The needs of the machine industry are varied, and you may sometimes need to machine a large-diameter piece of material.

Universal lathes sometimes need their chuck jaws changed for special-purpose operations, particularly to turn large-diameter, narrow-profile material (such as pulley shaft bearings, flanges, etc).
Removing the Lathe Chuck Jaws

This article will cover removing and installing the chuck jaws. To remove the chuck jaws, we use the chuck key to turn counterclockwise and open the jaws all the way.

Removing the chuck jaws is a simple task. To install the reversed jaws, we need to arrange them in the order they should be installed.

We should clean any dust, burrs, or similar debris that has gotten into the grooves of the reversed jaws, since this can cause problems in the chuck slots. To do this, we can first use a brush, followed by an oily rag or cotton waste.

Chuck jaws are numbered according to their installation order. In the image above, we see jaw number 2.

The same numbering is also present on the chuck slots. This way, we understand which jaw goes into which slot.

Some chuck jaws may also have numbering on the side.
(image above)

If there’s no number on the chuck jaws, or it can’t be read, we can order the jaws as shown in the image above. Pay attention to the difference between the tip sections of the jaws.
How Are the Chuck Jaws Installed?
We place the jaws so their numbers match the numbers on the chuck slots. We do this by turning the chuck key and finding the gap at the end of the spiral groove visible on the chuck (above). This is one of the few tricks to keep in mind when changing lathe chuck jaws.

Once all 3 jaws have been installed this way, the process is complete.

To install all 3 jaws of a 3-jaw chuck in sync, you can use a rubber band as shown in the image above. You can watch this in detail in the video below.
In this post, we covered removing and installing the chuck jaws on a lathe. We tried to explain when reversed jaws are used, how reversed jaws are installed, and what to watch out for when installing chuck jaws. Looking forward to sharing new topics with you — from the machine education site, we wish you good work and a great day.
Related Posts
 Work Instructions at a Drill Press
 Cutting Large-Lead Helical Flutes on a Milling Machine
 Knurling. The Knurling Process on a Lathe
 How to Maintain a Milling Machine
 Work Instructions for a Bench Grinder
 How Is a Splined Shaft Made? Splined Shaft Manufacturing
 Metric and Whitworth Thread Systems
 Types of Drill Bits, Lesson