
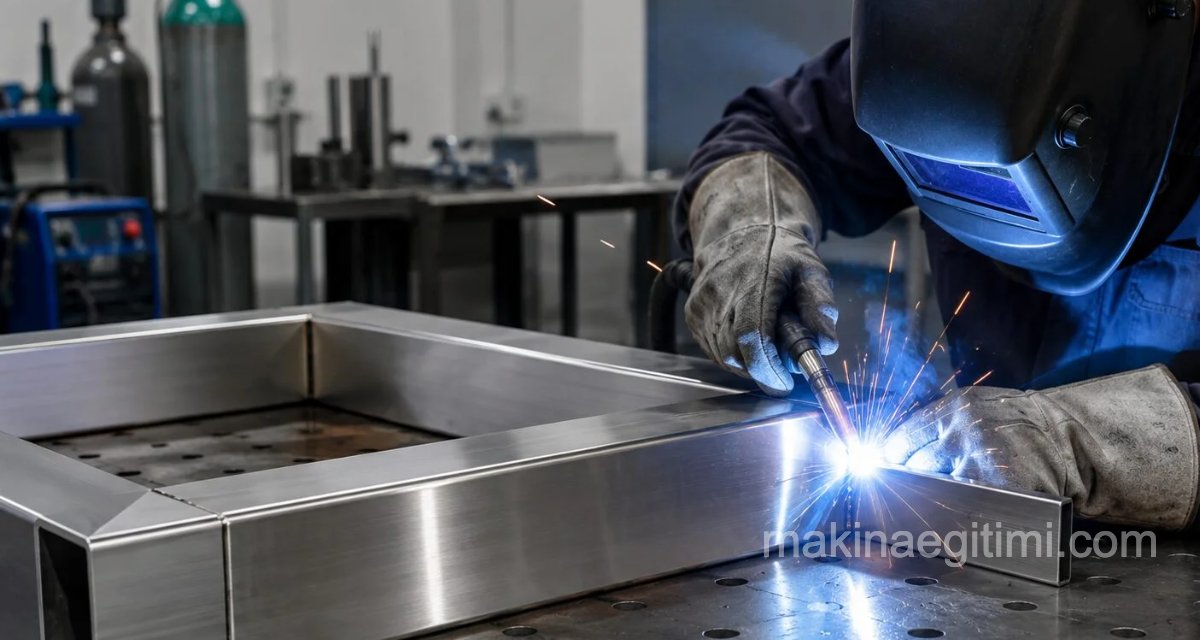
How is welding of stainless steels done. Which electrodes are used. Topics covered in this article about what to watch for when welding stainless steels:
Methods used in welding stainless steels
The following welding methods are used
- Ordinary electric arc welding with coated electrodes
- TIG welding
- MIG welding
- Plasma welding
- Oxy-acetylene welding
- Submerged arc welding
In this article, we will base our discussion on arc welding with coated electrodes, since it’s the most commonly used method.
Welding martensitic stainless steels
Because of its hard and brittle structure, martensite causes hard cracks while cooling after welding. Since these steels have a very slow critical cooling rate, their weldability is quite poor. Low-carbon martensitic steels can be welded.
Normally, these steels need to undergo a preheat (200-300°C) before welding. This preheating does not reduce hardness, but it does reduce stresses as much as possible. After welding, they must also be tempered at 800-820°C for 2 to 4 hours. This tempering allows for some deformation in the weld zone and reduces stresses.
Austenitic electrodes are mostly used for welding martensitic steels. High-carbon (0.5-15% C) martensitic steels should not be welded.
Welding ferritic stainless steels
Although these are easy to weld, some difficulties are seen during welding. The biggest challenge in welding ferritic stainless steels is the material’s tendency toward grain growth above 1150°C. Ferritic stainless steels, which normally have a fine-grained, ductile structure, suffer a large drop in notch impact strength once they shift to a coarse-grained structure.

When welding this type of stainless steel, rapid cooling must be ensured after welding so that the material temperature stays above 1150°C for as little time as possible. The brittleness caused by grain growth can be reduced by using an austenitic electrode.
For ferritic stainless steels containing high amounts of chromium and carbon, a preheat of around 200°C can be used when welding. In other cases, preheating is not necessary.
It makes more sense to stress-relieve welded parts with a temper at 300-400°C. Because at this temperature, the material’s ductility improves noticeably.
Welding austenitic stainless steels

Of all stainless steel types, this one has the best weldability. Since austenitic chromium-nickel steels are prone to hot cracking, the following rules should be followed when welding them:
1-Thin-diameter electrodes should be preferred.
2-The minimum current strength should be applied during welding.
3-Passes should be thin, and an effort should be made to draw the electrode straight along the weld without weaving it.
4-For multi-pass welding, the part should cool to room temperature after each pass before the next pass is drawn.
5-No crater crack should be left at the end of the weld.
What Is the Schaeffler Diagram?
The Schaeffler diagram is used to determine the structure of a weld metal made of a chromium-nickel alloy with a known chemical composition. This diagram guides a welding engineer on which type of chromium-nickel electrode to use to weld different or difficult-to-weld steels without cracking occurring.

Welding free-machining grades of stainless steel is not recommended. Because the sulfur, selenium, and phosphorus in these steels cause porosity and hot cracking. When welding these steels, E 312 or E 309 electrodes should be used, along with a welding method that minimizes mixing between the electrode metal and the base metal.
Welding stainless steels to ordinary steels
When joining stainless steel to ordinary steel, the joint face of the ordinary steel is first coated with a layer of stainless weld metal. The weld joint is then filled with stainless weld metal.
An E 309 type electrode is generally used for this job.

Low Heat Input
Low heat input in stainless steel welding reduces chromium carbide precipitation at grain boundaries and lowers the risk of corrosion.
Argon Shielding Gas
The argon gas used in TIG welding isolates the weld pool from the atmosphere, preventing oxidation.
Interpass Cooling
In multi-pass welds, allowing the part to cool between each pass limits the size of the heat-affected zone.
What to watch for when welding stainless steels
There should be no substances like varnish or paint on the area to be welded. Sulfur, moisture, and other chemical substances also negatively affect weld quality.

For a quality weld, the highest-quality stainless steel material and electrode should be used. The electrodes need to be protected from moisture. A small-diameter electrode should be used to keep the heat input low.

The weld joint should be well and properly prepared. A grinding stone or a stainless steel wire brush should be used to clean weld spatter and slag. If the slag is difficult to remove, it means the weld joint is dirty or too narrow, the passes aren’t laid regularly, the electrode has absorbed moisture, or the weld has not fully cooled.
The best corrosion resistance is achieved with the lowest possible amperage and a smooth, ripple-free weld. If the amperage is kept too low, the arc becomes unstable and the electrode sticks. Too high an amperage causes cracking.
For stainless steel welds, just as with alloy steels, it is possible, and even preferable, to use TIG and MIG welding as the first choice.
Electrode selection when welding stainless steels
The general requirement in electrode selection is that the weld metal have the same chemical composition as the base metal.
The coating of electrodes used in electric arc welding of stainless steels is either basic or rutile in character. Rutile electrodes are preferred by many welders because they provide comfortable working conditions, the slag lifts off easily, and they give a nice-looking bead. On the other hand, a basic electrode may be considered for an internal fillet weld.
If a joint in stainless steel thinner than 5 mm is to be welded with a single pass on each side, rutile electrodes are more economical. If the gap between the two parts is chosen appropriately, a smooth joint can be obtained without excessive bead height. This is especially sensible if the bead will later be ground.

When a high-quality weld joint is desired. If the weld joint is narrow and poorly shaped, and for vertical or otherwise difficult-position assembly welds, a basic electrode is more suitable. A basic electrode is preferred for welding thick parts with a V, U, or X groove.
For welding stainless steels:
Electrodes numbered E307, E308, E309, E310, E312, E317, E318, E347, and E385 are used.
Striking the electrode when welding stainless steels

While rutile electrodes strike quite easily, basic electrodes are somewhat harder to strike. The electrode should always be struck inside the joint being welded, because striking it elsewhere creates a burn scar. When the electrode is extinguished, a layer of slag usually forms on its tip. This slag layer needs to be removed before the next strike. This is done either with sandpaper or by striking the electrode against the welding tongs before starting the weld.
Extinguishing the electrode when welding stainless steels
When extinguishing the electrode, a few circular motions should first be made over the weld pool, and then the electrode should be lifted off the slag by moving about 1-15 mm in the direction opposite to the weld. If the electrode is pulled away quickly, a crater will form in the molten pool.
Filling the weld joint when welding stainless steels
The first pass should not be started right at the tack weld point; instead, to ensure these points melt properly, the first pass should be drawn starting a little ahead of the tack weld point. Coarse passes should be avoided. To achieve this, the electrode is drawn in a straight line at a high speed. This is easily achieved with a rutile electrode. With a basic electrode, giving the electrode a very slight side-to-side weave makes it possible to get a smoother bead.
Steps after welding stainless steels
After welding, a brown or black discolored zone forms on both sides of the bead. This discoloration that occurs during welding needs to be removed once welding is complete. There are 3 methods for this. These are: the chemical method, grinding, and sandblasting.
Related Questions
Because the martensite structure is hard but brittle, it can easily crack during rapid cooling after welding. To reduce this risk, controlled, slow cooling must be applied after welding.
This diagram makes it possible to predict the resulting structure (proportions of austenite, ferrite, and martensite) that will form in a weld where different types of stainless steel are mixed. This lets the welder foresee the risk of cracking and choose the right electrode.
Related Posts
 How Is Underwater Welding Done? Underwater Welding
 Oxy-Fuel (Oxy-Acetylene) Welding: Working Principle and Uses
 Advantages and Disadvantages of Laser Welding
 Factors That Make Welding Stainless Steel Difficult
 General Information About TIG Welding
 Welding Electrode Types
 Plasma Arc Welding
 The History of Electric Arc Welding