
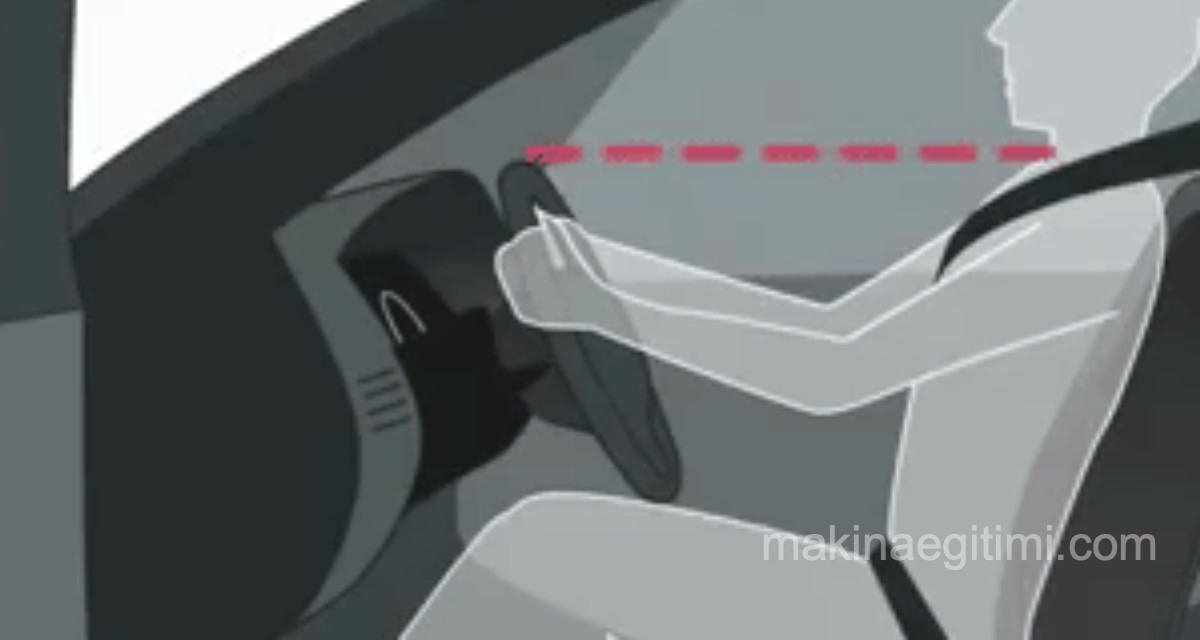
In this article from our safe-driving education and driving-school lesson notes section, we will look at steering wheel grip positions and techniques. Let’s see what steering wheel turning techniques are recommended.
This may seem silly, but most drivers actually don’t know how to properly steer their car. A proper steering grip is, in fact, an important safety measure. Drivers who use proper steering techniques are less likely to cause an accident and will be able to get the most out of their vehicle.
What Should the Correct Steering Wheel Grip Be Like?
Look ahead. Don’t look at your hands or the steering wheel while driving. Keep your eyes on the road and check your rearview mirror periodically.
Grip the steering wheel firmly.
Besides steering the car, the steering wheel also tells you how well the road is being gripped and how effective your turn is. You can never get these vital pieces of information with an overly light touch.
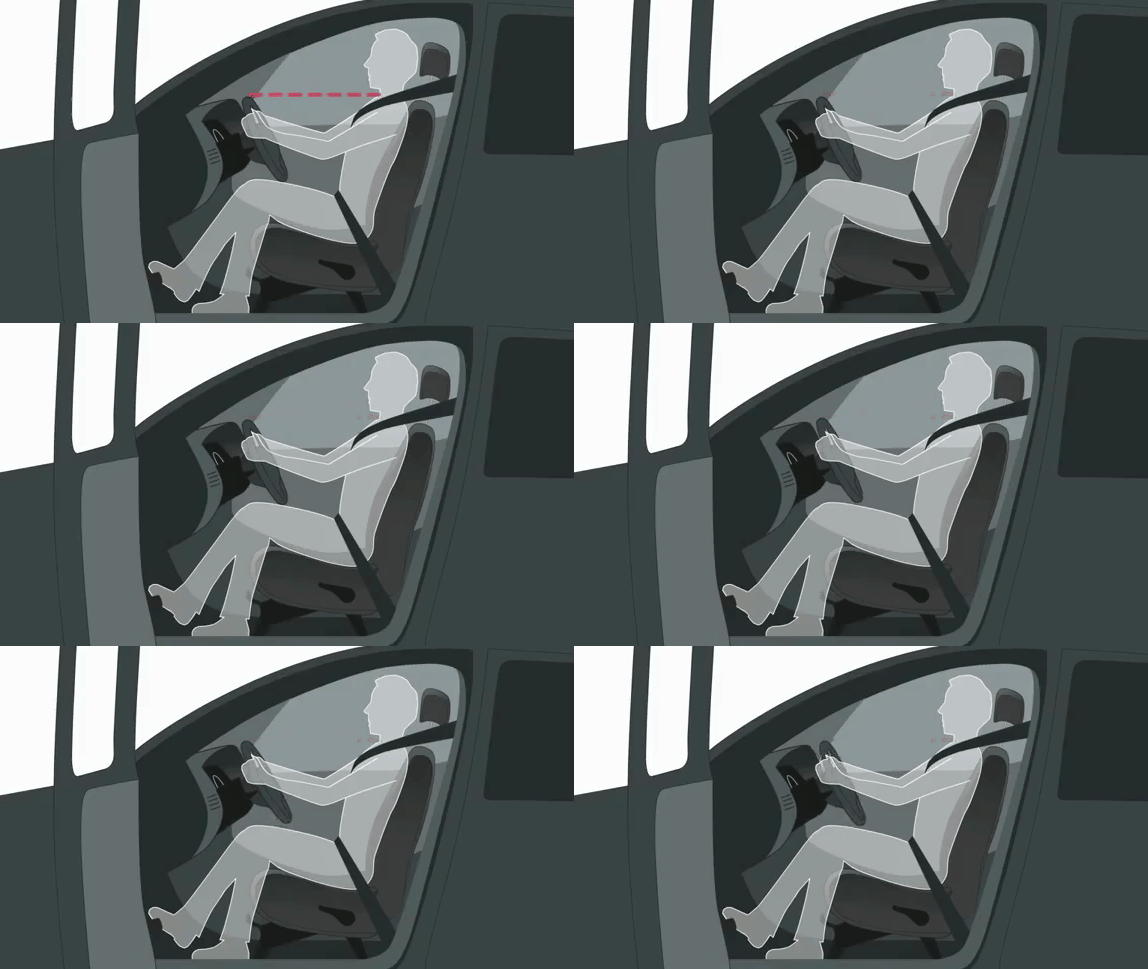
If your vehicle has an adjustable steering column, adjust the wheel’s height to the position that best suits you. Keep both hands on the steering wheel. When you hold the wheel with both hands, you will be able to react to obstacles on the road more quickly.
Steering Wheel Grip Positions

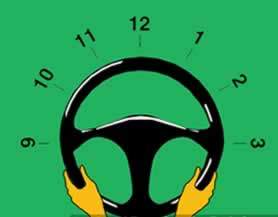
There are 3 preferred steering wheel grip styles for different situations. If we think of the steering wheel as a clock face, we can keep our hands in the 3 different positions shown above. Now let’s look at the advantages and disadvantages of these steering wheel grip positions.
Hands at 9 and 3 grip position

Placing your hands at the 9 and 3 positions on the steering wheel is a great approach.
First, it provides more leverage on the steering wheel than any other position. Second, placing your hands on the wheel in these positions will keep you from being injured if the airbag deploys. In our personal opinion, this is the best steering wheel grip style.
Hands at 10 and 2 grip position

Placing your hands at the 10 and 2 positions is recommended by almost every driving instructor. However, it’s a problematic grip style in vehicles with airbag systems. If the airbag deploys during an accident, your hands can be thrown into your face and cause you injury.
Hands at 8 and 4 grip position
There is a lot of debate about the 8 and 4 position. Some argue that placing your hands in these positions won’t give you enough control over the steering wheel.
It may be preferable on a highway without much maneuvering. However, for vehicles with airbags, this hand position is one of the recommended ones. We recommend using the 9 and 3 hand positions primarily, and switching to the 8 and 4 positions only when you need to rest your arms for a while.
Steering Wheel Turning Techniques
Now let’s look at the recommended steering wheel turning techniques for healthy, safe driving. These steering techniques are recommended based on scientific studies and user experience.
Push-Pull Steering Technique
The push-pull method is a recommended way to make safer, smoother turns. It also allows both hands to stay on the steering wheel during the turn.
Turning Left With the Push-Pull Technique

Start with your hands at the 8 o’clock and 4 o’clock positions.
Pull down with your left hand (from about 8 o’clock to 7 o’clock).
Push up with your right hand (from 4 o’clock to 1 o’clock).
Turning Right With the Push-Pull Technique
Start with your hands at the 8 o’clock and 4 o’clock positions.
Pull down with your right hand (from 4 o’clock to about 5 o’clock).
Push up with your left hand (from 8 o’clock to 11 o’clock).
Hand-Over-Hand Steering Technique
This steering technique allows for faster turns, but it should only be used at low speed or when making an emergency turn. Some uses of the hand-over-hand steering method include:
- Making a sharp right turn
- Making a U-turn
- Parking
- Correcting from a skid
Steps for Turning Using the Hand-Over-Hand Technique
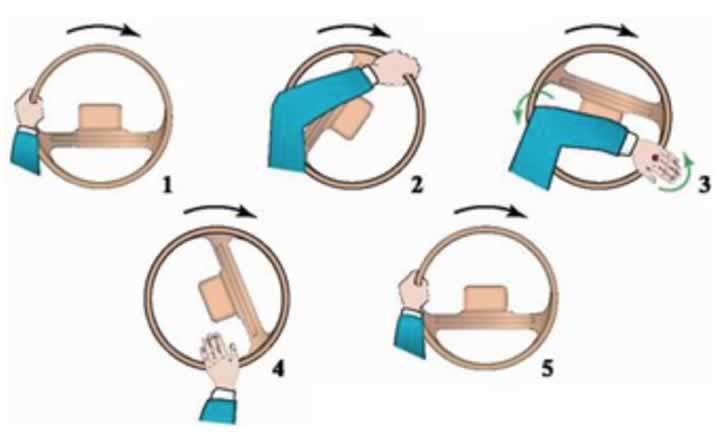
Position your hands at the 9 and 3 o’clock positions, and then:

To turn right:
to make a right turn, bring your hands to the 9 and 3 positions. Push the steering wheel clockwise with your left hand. Your right hand should move downward with the steering wheel.

When your left hand reaches the 1 o’clock position, your right hand should release the wheel. Bring your right hand over your left hand and place it at the 11 or 12 o’clock position.
Grip the wheel with your right hand and continue moving it clockwise. Release the wheel with your left hand, and once the turn is complete, be ready to bring the steering wheel back to the neutral position.
To turn left
Your left hand will hold the wheel at the 3 o’clock position and pull it counterclockwise to about the 10 o’clock position, then your left hand will cross over your right hand and continue the turn by gripping at the 2 o’clock position. Reverse the movements to straighten out.
One-Handed Steering Technique
In some situations, the steering wheel can be steered with one hand. Yes, most driver’s manuals recommend keeping both hands on the wheel, but for example, this doesn’t work while parking your car. When parking, you shouldn’t rely on your mirrors and need to turn and look over your shoulder. In this case, you free up one hand to hold onto the back of the passenger seat.
Also, in vehicles with a manual transmission, you need to hold the steering wheel with one hand while shifting gears.
Since one-handed steering isn’t recommended for maneuvers that require a full turn, it should only be preferred in the specific situations above.
Related Posts
 Definitions Related to Traffic, Highways, and Vehicles
  Traffic Signs and Their Meanings. Warning Signs
  How to Drive a Manual Transmission Car
  What Is a Forklift. What Are the Types of Forklifts
  Safe Forklift Use. Forklift Safety Rules
  Traffic Regulatory Signs and Their Meanings. Restriction and Command Signs
  5 Tips for Fuel Economy
  Why Is It Dangerous to Rest Your Feet on the Dashboard?