
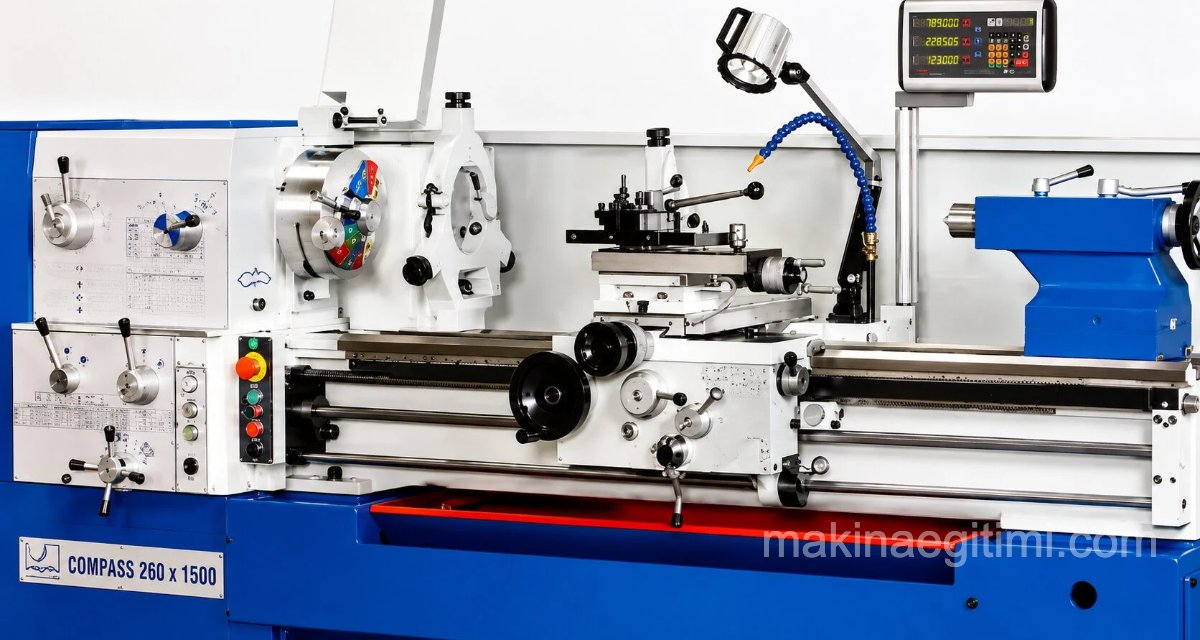
In this post, we’ll look at how to remove a universal lathe chuck and how to install a lathe chuck. We’ll support the explanation with photos taken during the process of mounting and removing the lathe chuck. This walkthrough was done on a universal 3-jaw lathe chuck.
How to Remove a Lathe Chuck
On universal lathes, depending on the job at hand, you may sometimes need to remove the universal chuck and install another type (for example, an independent 4-jaw chuck). In such cases, we should first review the safety precautions before removing the lathe chuck.
Safety precautions before removing the lathe chuck

First, to guard against any workplace accident, we must switch off the lathe’s power and cut the electricity. Then, since the chuck could drop hard onto the lathe ways the moment it comes free from the spindle nose and screws, we should place a wooden board over the ways to protect them.
The lathe chuck removal process
There will be nuts at the point where the lathe chuck attaches to the spindle nose. We’ll get an open-end wrench that fits these nuts. Then, so the chuck doesn’t turn along with the wrench as we turn it, we’ll put the lathe in its lowest gear.
We’ll grip the nut with the open-end wrench and loosen it. If we’re having trouble loosening the nut, we can make it easier by striking the open-end wrench firmly with the palm of our hand. Once all the nuts are removed, the load will fall onto the studs the nuts were attached to, so at this point we should ask someone to help by holding the chuck. Once all the nuts are fully removed, our helper should pull the chuck toward themselves and carefully lower it onto the wooden support.
Caution: Warn your helper that the chuck is heavy. Their stance should be balanced and stable. Otherwise, if they underestimate the chuck’s weight, they could lose their balance the moment the chuck comes free.
How to Install a Lathe Chuck
Installing the lathe chuck simply involves carefully seating the studs on the chuck into the holes on the flange attached to the spindle nose, then securing them with nuts from the other side of the flange.

Two people should be involved in this process. Since the chuck is heavy, if you’re struggling to lift it and fit it into place and the process takes longer than a few seconds, you could hurt your back from the weight. Also, if only one person is working, they may have trouble seeing the holes on the flange and fitting the studs into them.

While fitting the studs on the chuck into their positions on the flange, we can attach a small-diameter cylindrical piece to the chuck to help carry the weight in a balanced way. We can then lift the chuck by holding onto this piece. Gripped tightly by the chuck jaws, this piece acts as a handle, helping us as we carry the chuck.
Finally, after seating the studs on the chuck into their places on the flange, while your helper holds the chuck, you can tighten the nuts on the studs.
IMPORTANT NOTE:
Don’t fully tighten any of the nuts at first. After fully tightening one nut, don’t move on to the next. Once you’re sure all the nuts are tightened evenly (and that the chuck is fully seated against the flange), tighten all the nuts the rest of the way.
Related Posts
 The Effect of Cutting Oils on Turning
 Types of Drill Bits, Lesson
 Linear Indexing on a Milling Machine. Cutting a Rack Gear.
 Taper Turning Methods
 Lathe Tool Angles and Their Effect on Surface Quality
 How to Maintain a Milling Machine
 Drill Bit Sharpening. How Is a Drill Sharpened.
 Band Saw Machine Work Instructions