
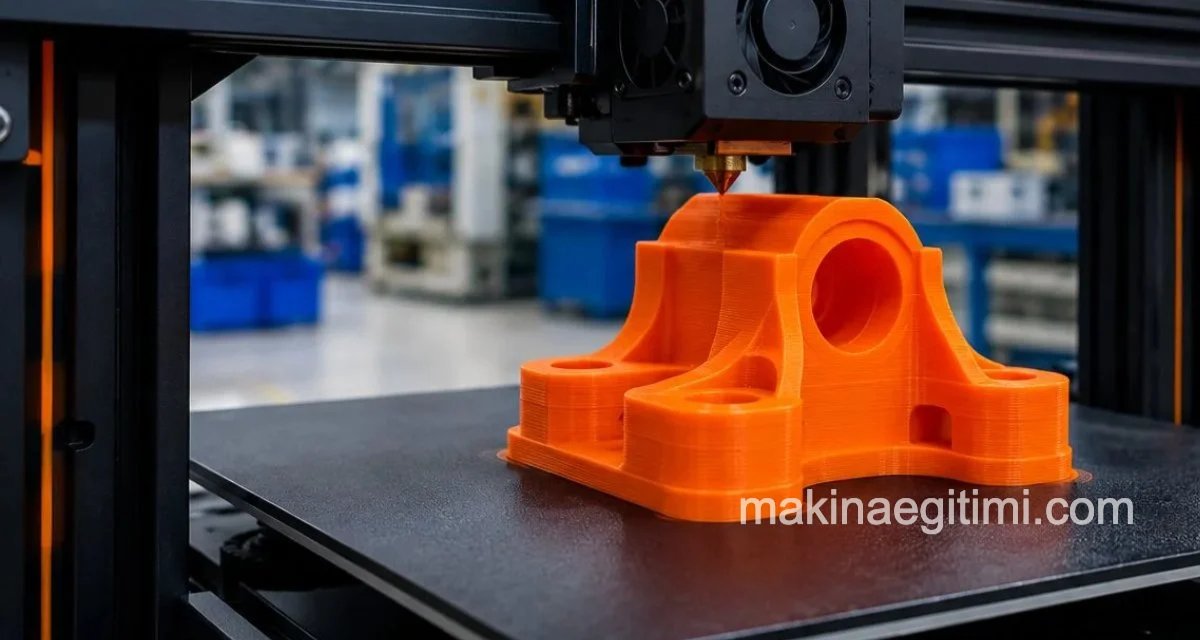

Stages of Manufacturing with 3D Printers
Model Design for 3D Printing
First, there must be a CAD model (a digital model drawn in a computer environment) of the product you want to produce with 3D printing. There are many software programs on the market that allow you to create a CAD model, and these programs differ in their complexity. In addition to programs for industrial design like SolidWorks, AutoCAD, Rhinoceros, and Fusion 360, you can also choose free, web-based software like Tinkercad for making very simple parts.

See related article: The Best Free CAD Software for 3D Print Design
Since design is the starting point of 3D printing, it is an important part of the process. For parts to be produced with 3D printing, this is a stage where the object’s dimensions, whether it needs to be functional, how your object will respond under various environmental conditions, and which material and 3D printing technology it will be produced with all need to be considered.
Converting the Model to STL File Format
After the CAD model is created, the file needs to be converted to a format specific to 3D printing. Although there are many formats, the most commonly used format for 3D printers is the STL format. We’ve explained the reasons for this below. Nowadays, many modern CAD programs can easily perform the conversion to STL format.
Characteristics of the STL File Format
ASCII or Binary Format: STL files can be saved in ASCII (human-readable text) or binary (machine-readable) format. Binary files are generally smaller and faster to process.
No Color or Texture Information: STL files do not contain any information about color or texture, which makes them suitable for 3D printing.
No Layers or Groups: STL files do not contain information about separate layers or groups that could be used to organize and modify objects, as in other file formats.
Checking and Fixing Model Errors
You may not have followed design rules while designing your CAD model. Because of this, your file may not be suitable for 3D printing once converted to STL. However, if you’ve designed your CAD model appropriately for 3D printing, you won’t run into problems.
You can check for errors in your STL file using programs like Meshmixer, and fix some of these errors before getting a quote from a 3D printing service. Meshmixer is a 3D modeling software used to create and modify 3D models. It allows tasks such as combining multiple 3D models, smoothing and shaping models, repairing models, creating supports for 3D printing, and more.
Generating G-Code with a Slicer
3D printing typically uses a process called slicing, which takes a 3D model and converts it into a series of 2D layers that the printer can build to create the final 3D object. G-code, a set of commands for the printer, is generated during the slicing process. It defines the movements of the print head, the printing temperature, the movement speed, and other aspects of the printing process.
Most slicing software allows the user to select the 3D model to be printed, set print settings such as infill density and layer height, and then generate the G-code. The G-code is then uploaded to the printer and the printing process can begin.
Many slicing software options are available for 3D printing. Some popular options include: Cura, PrusaSlicer, MatterControl, Simplify3D, KISSlicer, Slic3r, IdeaMaker, Ultimaker Essentials

These programs offer various features and options to customize the printing process, such as support generation, infill patterns, and print speed. Some of these programs are open-source and free, while others are commercial and require a paid license.
Pre-Processing
With the G-code generated, the stages related to the digital file are complete. At this stage, the 3D printer needs to be prepared for printing. Material loading and pre-processing steps specific to the printing technology are performed.
For FDM, this includes loading the filament, heating the print bed, and applying adhesive; for SLS, this includes loading the powder, cleaning out powder left over from the previous print, and heating the interior of the build chamber.
Once these preparations are complete, the printing process begins.

The Printing Process
After the printer and the necessary equipment are prepared, the 3D printing process begins.
3D printing, also known as additive manufacturing, is the process of creating 3D objects by adding material layer by layer. It works by using a printer to extrude molten plastic or other materials from a small nozzle, laying down successive layers until the entire object is complete.
The final result is a physical object that closely matches the original digital model.

Post-Processing
After the 3D printing process is complete, the part may need to undergo some additional processing. These steps vary from technology to technology, and may include removing support material, smoothing out any rough spots if present, and, depending on the need, sandblasting, sanding, painting, or polishing.
Layer Thickness
In standard FDM 3D printing, layer thickness is usually set between 0.1-0.3 mm.
Support Structures
For overhanging or hollow geometries, temporary support structures are automatically added during printing.
Finishing Process
Post-print finishing steps such as removing supports, sanding, and painting determine the part’s final quality.
Related Questions
CAD programs store the model in different internal formats, but 3D printers can’t read these formats directly. STL translates the model’s surface into simple triangles, converting it into a common language the printer can understand.
The environment the part will be used in (temperature, humidity, mechanical load) determines which material is suitable. A design made without considering this can turn out inadequate or fragile once produced.
Related Posts
 Materials Used in 3D Printing
 Laser Cutting Working Principle, Advantages and Disadvantages
 3D Printer Applications Today and in the Future
 Laser Cleaning: Removing Rust, Dirt, and Grease
 Applications of Lasers
 Properties of Laser and Laser Devices Used in Medicine
 Electrical Discharge Machining (EDM) Machines
 What Is Additive Manufacturing (3D Printing)? Methods and Applications