


This article contains a sample drawing you can use for AutoCAD lessons. We’ll walk through drawing this part step by step, with images and video, using commands like Circle – Tangent-Tangent Circle – Trim – Copy – Fillet.
Video Walkthrough
Alternative link if you can’t watch the video
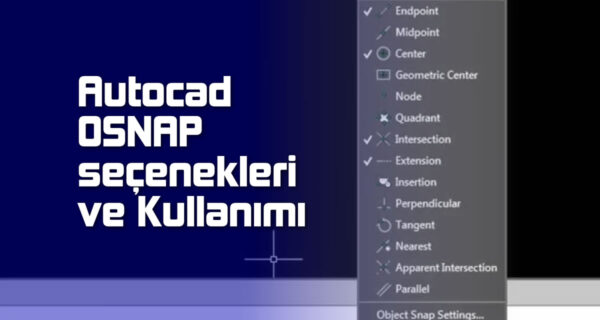
OSNAPs used: CENTER, ENDPOINT, INTERSECTION, TANGENT, QUADRANT
Step-by-Step Illustrated Walkthrough

We start our exercise with the CIRCLE command, drawing the ø19 and R25 circles.

Then we continue with the LINE command:
1) 32 mm to the right
2) 10 mm up
3) 12 mm to the left
4) 30 mm up.

We draw an axis through the center of the circles, then offset this axis 80 mm to the right using the COPY command.

This gives us the center of the circle on the right.

Now we continue by drawing the ø10 and ø24 circles on the right side.

We draw a long horizontal line from the large circle on the left, extending to the right.

We continue with the TAN-TAN CIRCLE command. The R30 circle we’re about to create will be tangent to the ø24 circle on the right and to the horizontal line above.

We trim away the excess with the TRIM command.

Now we draw our second horizontal line.

Then we draw an R20 circle tangent to our second horizontal line and to the large circle on the right.

Again we trim away the excess with the TRIM command, and this is the result.

Finally, we create the R5 radii with the FILLET command, and the drawing is complete.
Related Posts
 AutoCAD Example Drawings 2 – Complex Drawings
 AutoCAD Object Snap (OSNAP) Options and Usage
 SolidWorks Assembly Example – Differential Gears
 Introduction to Computer-Aided Drawing – Exercise Drawings
 A Few Tricks for Productivity With AutoCAD
 How to Add a Datum Symbol in AutoCAD Dimensioning
 2D Sketch Drawing Examples – Part 3
 AutoCAD Drawing Exercise 3 – MIRROR Command