
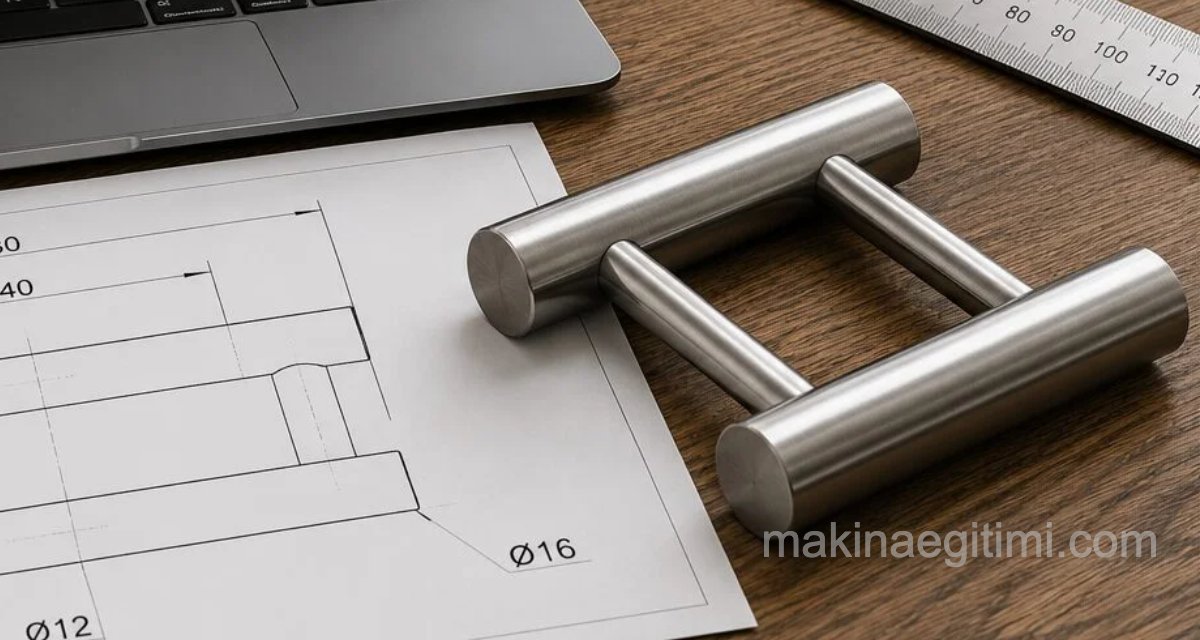
In this example exercise, we’ll build a simple solid model using 2 sketch planes (Front Plane and Right Plane). Since using planes efficiently and sensibly is very important in solid modeling, working through a simple exercise on this topic can be helpful.
Video Walkthrough
Illustrated Walkthrough

We start our sketch by opening a new sketch on the Front Plane. To do this, we find Front Plane in the feature tree on the left and click on it. Then, using the sketch tools, we draw two circles as shown above and dimension them.

Next, we run the Extruded Boss/Base command to create a solid. In the dynamic menu that opens on the left, we enter the extrusion distance, or drag the black arrow shown in the image above.

Next, we find Right Plane in the feature tree. When we click on this plane, we click the NEW SKETCH icon from the options that appear, and create the sketch shown above.

Finally, if we run the Extruded Boss/Base command again and set the options as shown in the image, a solid model will be created, merged from the surface shown in green to the other surface. (You can click the image to enlarge it.)
Related Posts
 SolidWorks Assembly Drawings – Live (Rotating) Center
 SolidWorks Assembly Drawing Examples – Stuffing Box
 SolidWorks Assembly Drawing – Ball Cart SolidWorks Ready-Made Drawings – Door Bolt Assembly and Detail
 SolidWorks Practical Solutions and Tips-2
 SolidWorks 3D Simple Exercise 1
 SolidWorks Solid Model Exercise-4 / Video + Materials
 SolidWorks Assembly Examples – Suspension System