Rear Window Defroster Repair
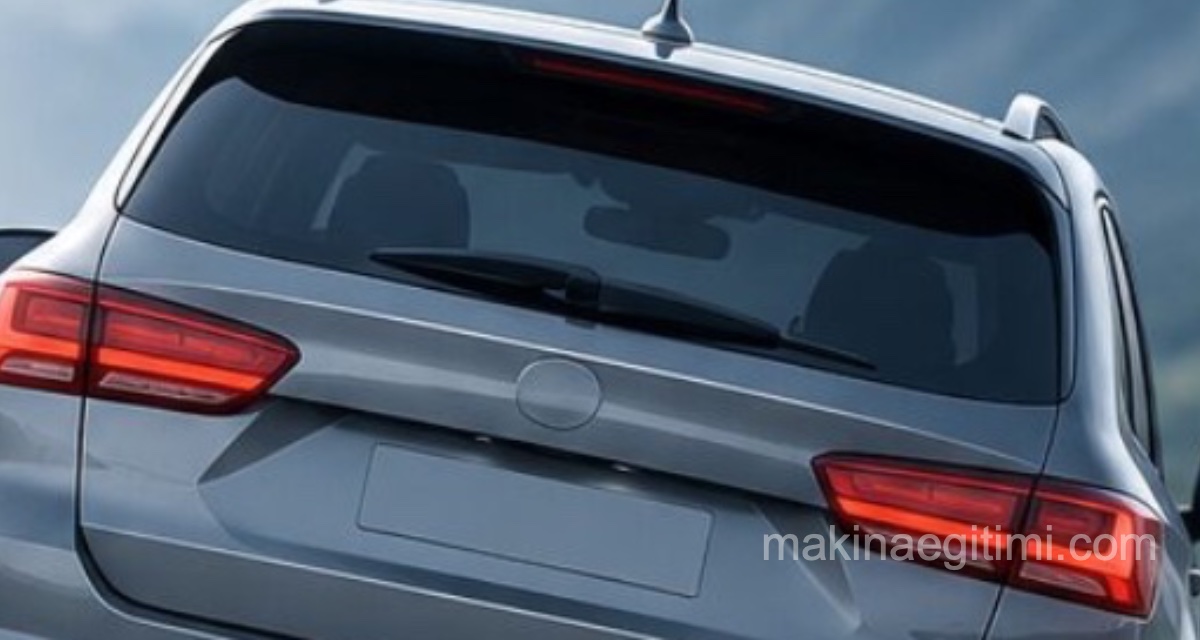
A defroster grid on your car’s rear window prevents fogging caused by the temperature difference between inside and outside during winter. When this grid fails, you can repair it yourself.
In winter, fogging on the rear window can create a visibility problem. You need to run the defroster to clear the fog. But the thin defroster wires, which can break for various reasons, can become a real headache. The good news is that this rear window defroster repair can be done in just a few minutes using silver conductive paint sold on the market.

Sometimes these wires can even be lifesavers. You can repair the anti-fog wires on your car’s rear window yourself. These very thin and delicate defroster wires can break either while wiping the window or, on a station wagon, while loading cargo. These thin, delicate, parallel-connected wires heat up to clear fog from the rear window, and when they break, fogging occurs on the glass.
Repairing the Defroster Only Takes 5 Minutes
Even when they run into rear window fogging problems, most people can’t be bothered to get a broken defroster wire repaired. Nobody wants to visit a shop over a single wire, or it keeps getting put off. But as more wires keep breaking, the rear window fogs up completely, and that’s when the real problems start. It would be a mistake to wait until every wire has broken before going to a shop. Thanks to silver conductive paint, you can repair your car’s rear window defroster in 5 minutes — and by yourself, at that. This is how you can solve the fogging problem.
How Do You Repair a Rear Window Defroster?

Ready-made repair kits (defroster repair kit or defroster repair set) are sold for this job. This set, known as a “defroster repair kit,” contains everything you need.
For the repair, you first need to identify which of the wires is broken. To find out, the defroster is turned on. While the fog clears on the working wires, fog will remain in the area where a wire is broken. In the area where the fog remains, the break in the wire can be found easily.

A test light or a multimeter can also help you identify which wire is broken.

Before applying the silver conductive paint over the broken wire, you need to clean the surface. To do this, wipe the surface with a damp cloth, without pressing too hard so you don’t damage the other wires.

Once the cleaned surface has dried, to keep the silver conductive paint from spreading beyond where it’s needed, place the special card included in the kit — which has a gap in the middle the same width as the defroster wire — over the surface.

Then, apply the silver conductive paint into that gap to join the ends of the two broken wires. If the kit doesn’t include the special perforated card, you can prevent the paint from spreading by taping off both sides of the break instead.

Finally, once the paint has dried, carefully remove the card from the area.
Things to Watch for When Repairing a Vehicle’s Defroster
The most important thing to keep in mind here is that silver conductive paints need to be shaken thoroughly before use. After the paint is applied, waiting 5-6 hours for it to dry is enough. The defroster shouldn’t be turned on during this time. If you don’t want to wait that long, though, you can speed up drying by holding a hair dryer over the paint.
In this article, we covered the rear window fogging problem and repairing the anti-fog wires on the rear window. See you in our next articles.
Related Posts