
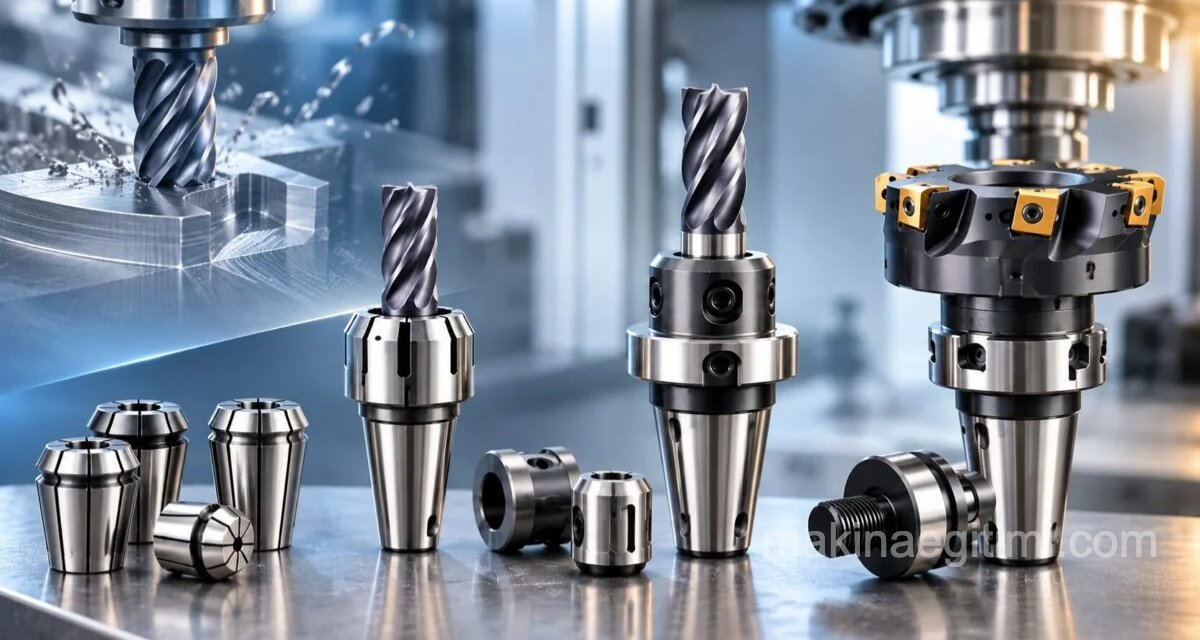
The machining quality of a milling cutter depends not only on how sharp the cutter itself is, but also on how firmly and correctly it is mounted on the machine. A loose or badly mounted cutter both spoils the surface quality and increases the risk of vibration and breakage. In this article we look at the four basic mounting methods that vary according to the type of cutter, the points to watch when removing and fitting a cutter, and why secure mounting matters.
Why Does the Mounting Method Change with the Type of Cutter?
Milling cutters vary widely in shape, shank construction and size. It is not possible to mount a small-diameter end mill with a shank and a large-diameter face mill with a bored hub in the same way. For this reason four different mounting methods are used according to the construction of the cutter: the collet chuck, the adapter, the arbor and direct mounting.
Mounting with a Collet Chuck
Milling cutters with cylindrical shanks are mounted on the machine by means of a collet chuck. In this method a collet suitable for the shank diameter of the cutter is chosen first, and then the cutter is fitted into the spindle taper together with the collet chuck.

The advantage of the collet chuck is that cutters with different shank diameters can be mounted quickly and accurately with the same system. This is why it is the most widely preferred method, especially for small and medium diameter end mills.

For detailed information on the use of collets, you can read the article below.
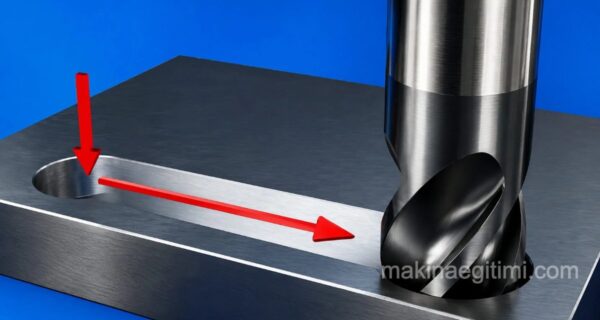
Related Post How Are End Mills Mounted
Use of a collet set. Mounting an end mill with collets. What is a collet adapter – collet chuck assembly. What it does. How it is used.
Mounting with an Adapter
A stub arbor or adapter is used to mount face milling cutters. In this method the cutter is fitted with a key and tightened from the face with a special bolt. The adapter carrying the cutter is fitted into the spindle by means of a draw bar.

The adapter method is preferred especially in face milling operations where wide surfaces are machined, because it mounts the cutter to the spindle over a shorter and more rigid distance.

Mounting on an Arbor

Cutters with a bored body are mounted on the horizontal head of the machine by means of an arbor. When choosing an arbor, particular attention must be paid to matching the bore diameter of the milling cutter. An arbor of the wrong size can cause the cutter to run off centre and lead to serious vibration during machining.

The order to follow when mounting a cutter on an arbor is as follows:
- The arbor is seated in its socket and the arbor taper is drawn in and tightened from the rear, at the spindle nose, with the draw bar.
- A key matching the keyway on the arbor is put in place and the milling cutter is fitted onto the arbor in the correct cutting direction. Thanks to the key seated in its slot, the cutting tool cannot rotate freely. From this point on it has to move together with the arbor.
- Spacing collars are fitted onto the arbor so that the cutting tool is centred on both sides. Finally, a bearing sleeve is fitted so that the arbor can be supported.
- Everything is ready. The arbor can now be supported in its bearing.
- The overarm support is positioned so that it centres the sleeve, and then tightened.
- The arbor nut is tightened while the machine is at low speed, so that it can take enough clamping force.

When removing a cutter from the arbor, the order is exactly the reverse:
- The arbor nut is loosened and the support is removed.
- The arbor nut is taken off completely, the cutter is removed and the spacing collars are put back in place.
- The nut of the draw bar is loosened, again with the machine at low speed.
- While the arbor is held with the left hand, the back of the draw bar is tapped lightly and the loosened arbor is taken out.
There is one critical point to watch in this last step:
the arbor must be prevented from sagging or suddenly dropping as it is removed. Tapping the draw bar without supporting the arbor with the left hand is a common mistake that can damage both the arbor and the operator’s hand.
Direct Mounting
On very large diameter face milling cutters, direct mounting is preferred in order to reduce the bending effect produced by the axial force. There are two different forms of direct mounting, depending on the bore of the cutter.
If the cutter has a tapered bore, it is fitted directly onto the external taper of the spindle nose and secured by drawing in a special nut with the draw bar. If the cutter has a cylindrical bore, it is fitted onto the nose of a bolt-type spindle. Because direct mounting keeps the distance between the cutter and the spindle to a minimum compared with an arbor or an adapter, it noticeably reduces vibration, especially with large and heavy cutters.
Points to Watch When Removing and Fitting a Cutter
Whatever the mounting method, there are some common rules that apply when removing and fitting a cutter. To make the job easier, the machine should be set to its lowest speed.
Care must always be taken against the cutting teeth when handling a cutter, because sharp edges can cause a cut even on light contact. Finally, cutters must be fitted on arbors of the correct diameter with no clearance, because even the smallest clearance turns into runout and a surface defect during machining.
Why Secure Mounting Matters
For secure mounting, the forces acting on the cutter need to be in balance. Helical fluted milling cutters in particular tend to slip along the arbor under the effect of the axial forces generated during cutting.

The solution to this problem is to mount the cutters in pairs. When two cutters are mounted side by side, the axial forces that arise cancel each other out and at the same time press the cutters more firmly against the arbor. This simple but effective method is a practical way of preventing cutter slip, especially in long-running, heavy-cut milling operations.
Related Videos


Conclusion
Mounting a milling cutter correctly is a step that directly affects both machining quality and occupational safety. The collet chuck offers the most suitable solution for small shank cutters, the adapter for face mills, the arbor for cutters with a bored body, and direct mounting for large diameter and heavy cutters. In each of these methods, paying attention to the order of removal and fitting, and to clamping without clearance, extends the life of both the cutter and the machine.
Frequently Asked Questions
A collet chuck is used to mount small diameter cutters with cylindrical shanks (usually end mills), while an adapter is mostly preferred for mounting face milling cutters with a bored hub on a stub arbor.
Tightening at low speed allows the arbor nut to take an adequate and controlled clamping force. Tightening at high speed is both unsafe and makes it harder for the nut to seat properly.
The most common mistake is tapping the draw bar without supporting the arbor with the left hand. In that case the loosened arbor can drop suddenly and damage both itself and anyone standing nearby.
Direct mounting is preferred especially on very large diameter face milling cutters, in order to reduce the bending effect produced by the axial force. Because it shortens the distance between the cutter and the spindle, it also reduces vibration.
Helical fluted cutters tend to slip along the arbor because of the axial forces generated during cutting. Mounting two cutters side by side lets these forces cancel each other out and prevents the slip.
Related Posts


